NextCloud
NextCloud allows you to create self-hosted cloud storage to host files, folders, contacts, photo galleries, calendars, and more on your Instance.
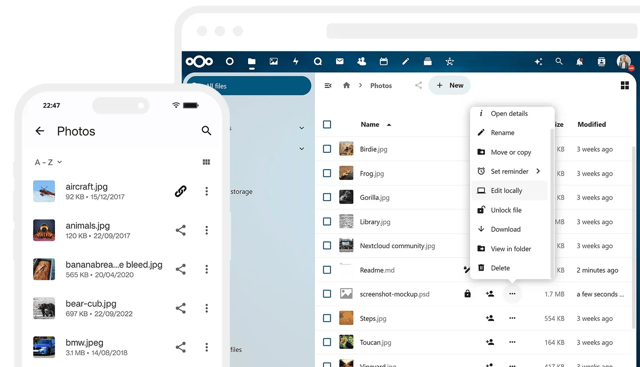
Presentation
Nextcloud is an open-source, self-hosted file sync and content collaboration platform that provides users with secure control over their data.
Key benefits and Features
- File Synchronization and Sharing: Allows users to sync and share files across devices and with others, both within and outside the organization.
- Collaborative Editing: Supports real-time collaborative editing of documents, spreadsheets, and presentations.
- Calendar and Contacts: Includes integrated calendar and contact management systems.
- Secure Communication: Offers built-in messaging, audio calls, and video conferencing capabilities.
- Encryption and Security: Provides encryption at rest and in transit, two-factor authentication, and other security measures.
- App Ecosystem: Features a wide range of apps and extensions to expand functionality.
- External Storage Integration: Can connect to external storage providers like Dropbox or Google Drive.
- Data Backup and Versioning: Offers automated backups and file versioning capabilities.
Getting started
NextCloud is one the InstantApp provided by Scaleway. You will find below all the information to deploy it on an instance.
What is an InstantApp?
An InstantApp is a pre-configured server image with a preinstalled application. It allows users to deploy and use the application on their Scaleway Instance immediately. Scaleway offers multiple InstantApps to simplify the setup process, reduce deployment time, and ensure consistent, optimized, and secure application environments.
Learn how to create your Instance and check all the Scaleway InstantApp availables.
You already have a Scaleway account
1. Click Deploy next to the NextCloud banner. You are redirected to a Select your Organization and Project page.
2. Select your Organization from the dropdown menu.
3. Select your project from the dropdown menu.
4. Click Continue. Depending on the resources you have available in the selected project, you will be redirected to the appropriate page to launch your Instance with your InstantApp.
You do not have a Scaleway account
1. Click Deploy next to the NextCloud banner.
2. You are redirected to the account creation page.
3. Select an account type (Personal or Professional) and fill out your first and last name, as well as your email address.
4. Check the box to agree to Scaleway's Terms and Services, and Scaleway's Data Protection Agreement.
5. Click Create account. A message displays to request that you check your email inbox for the verification email.
6. Click the verification link in your mailbox to confirm your email address and agree to our terms of service. You are redirected to the Add billing information page.
Important
You can click Add later to enter your billing information at a later time, and directly access your Organization dashboard in the Scaleway console, but you cannot use Scaleway products without billing information.
7. Enter your credit card information, then click Add credit card. A 3D Secure validation is initiated. Once your credit card is validated, you are taken to your Organization dashboard in the Scaleway console.
Check the tutorial
Support
Receive assistance at every stage of your journey. Log in to the Help Portal or submit a ticket.
Categories
Supported Languages
English